|
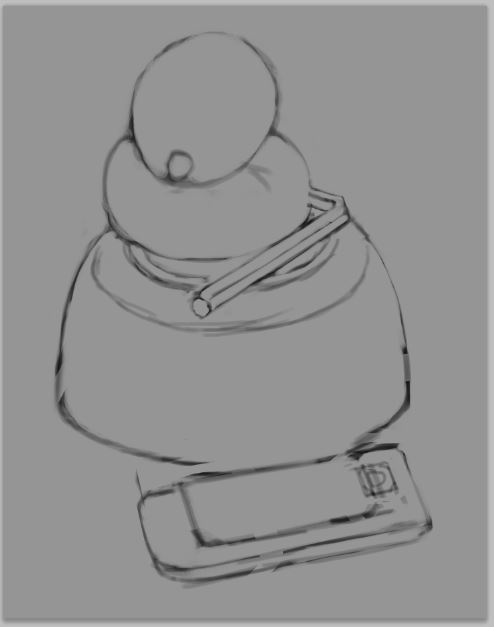
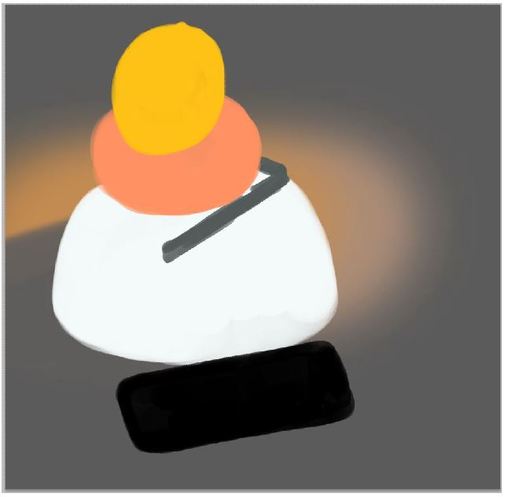
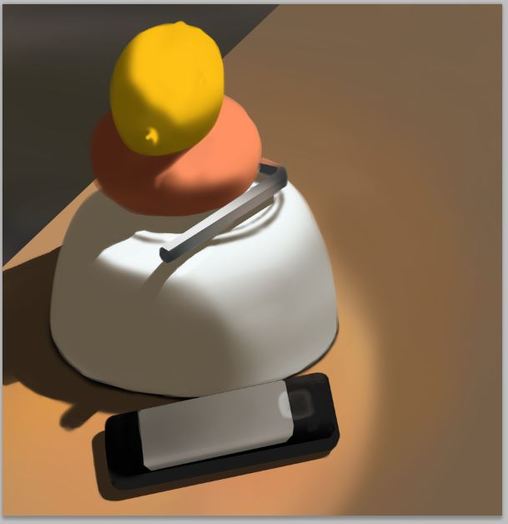
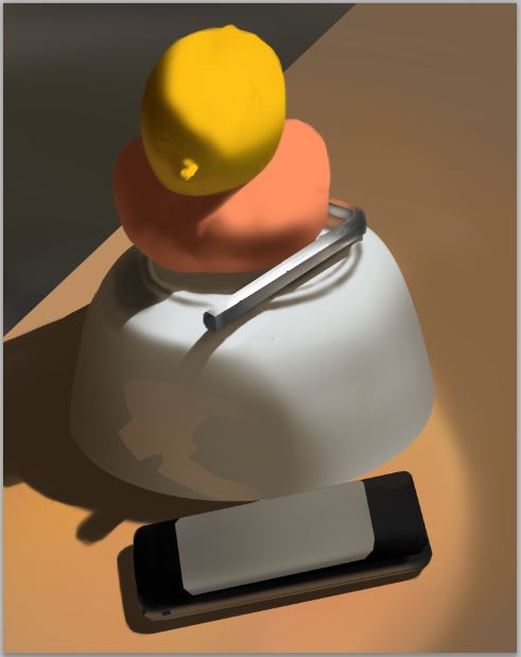
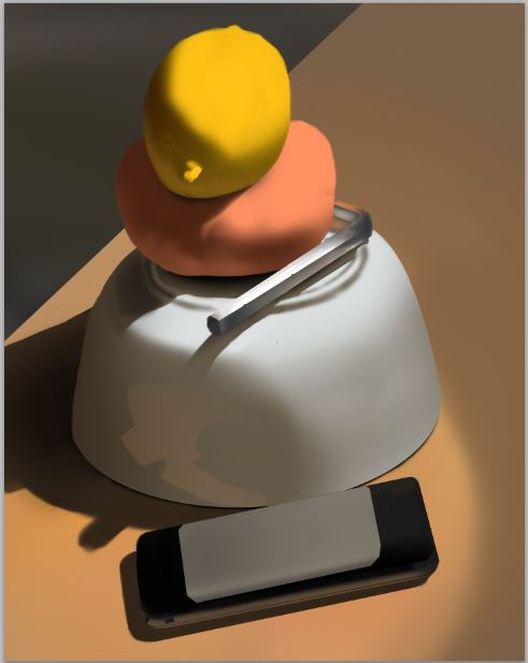
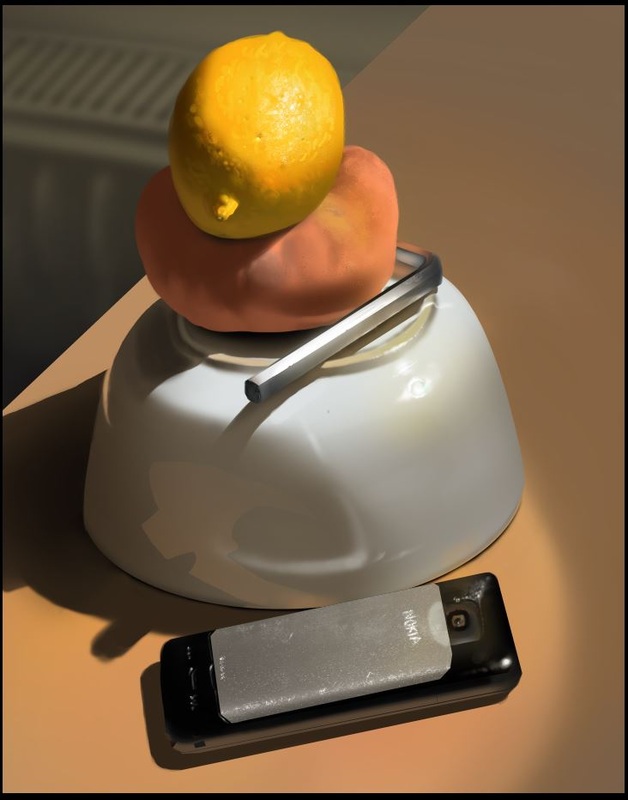
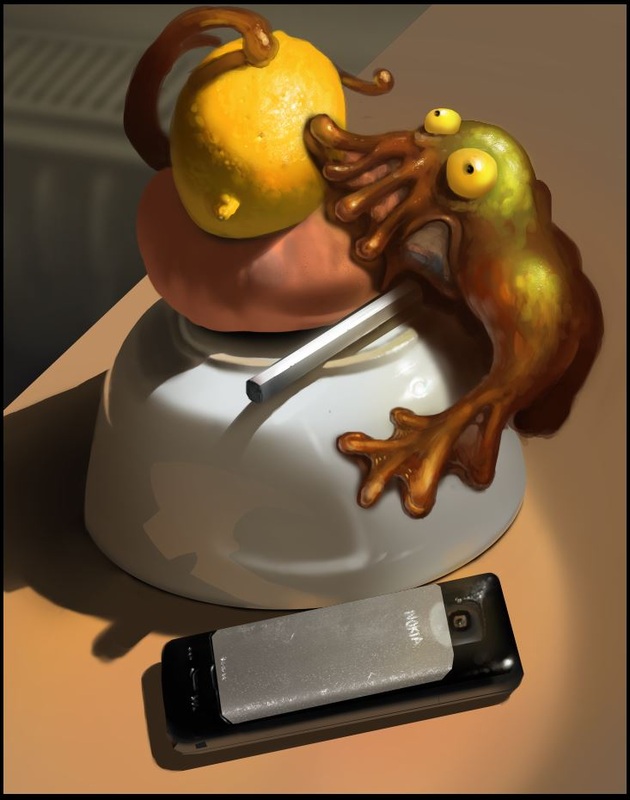
Hey guys, I did another still-life yesterday and wanted to share the process I used yesterday. 1) establish the rough composition 2) Lay down the base color of the objekt. Not the color of the shadow-side or the color in the highlight but something in between. 3) create another layer above your object (i.e. the lemon) and set it to be a "clipping mask". That way you can't paint outside of the pixels of the layer beneath. Now brush in the shadow-shape. The color is not important, you can change that with ctrl+u (or cmd+u for mac) which opens the "Hue and Saturation"-adjustment-menu. 4) now ad another clipping-mask and add reflected light where-ever you see it. Reflected light is where 2 or more objects are so close to each other, that light bounces of one object onto another one. Often these bounced lights have taken on the color of the object they first touched, because it absorbed all the other colors of the light. That way bounced light is often more saturated than direct light. 5) What has changed? Only something small: occlusion shadows. The places where 2 or more objects touch or are really close together, the light has a hard time getting in and out of. At those spots "occlusion shadows" occur and they are often the darkest part in the picture. Brush them in with a soft brush and erase out what you don't need. 6) Ok, this may seem like a big step, but the foundation is laid and all I do now, is to look more or less carefully and paint in what I see. I used mostly the soft and hard round brush that comes with PS and 1 or 2 custom brushes by the great and powerful Shaddy Safadi. http://www.shaddyconceptart.com/download 7) Add silly stuff. I hope you have fun trying this process ;)
0 Comments
Leave a Reply. |
This is my blog. I will share information about workflow, my insights into image-making or just general thoughts and rants about being an artist. Archives
February 2024
Categories |
 RSS Feed
